 Pin to Board
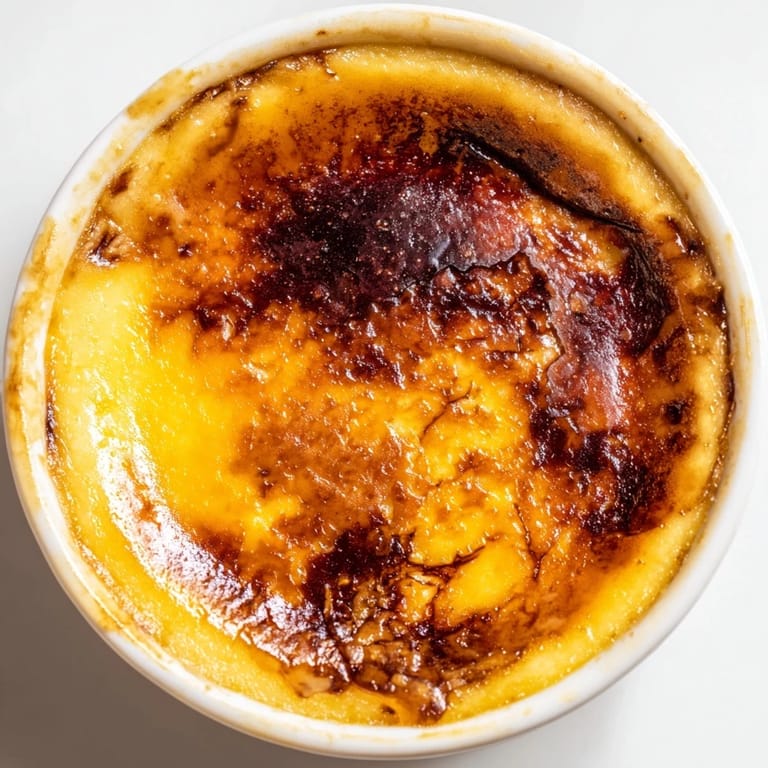
 My first attempt at crème brûlée happened during a dinner party where I'd promised dessert but forgotten to plan one. Three ingredients. That's it. I stood in my kitchen at 11 PM, whisking egg yolks and sugar, wondering if something so simple could actually impress anyone. When that first spoon cracked through the caramelized sugar crust, the sound echoed around the table like a collective gasp. Now it's my emergency elegance weapon.
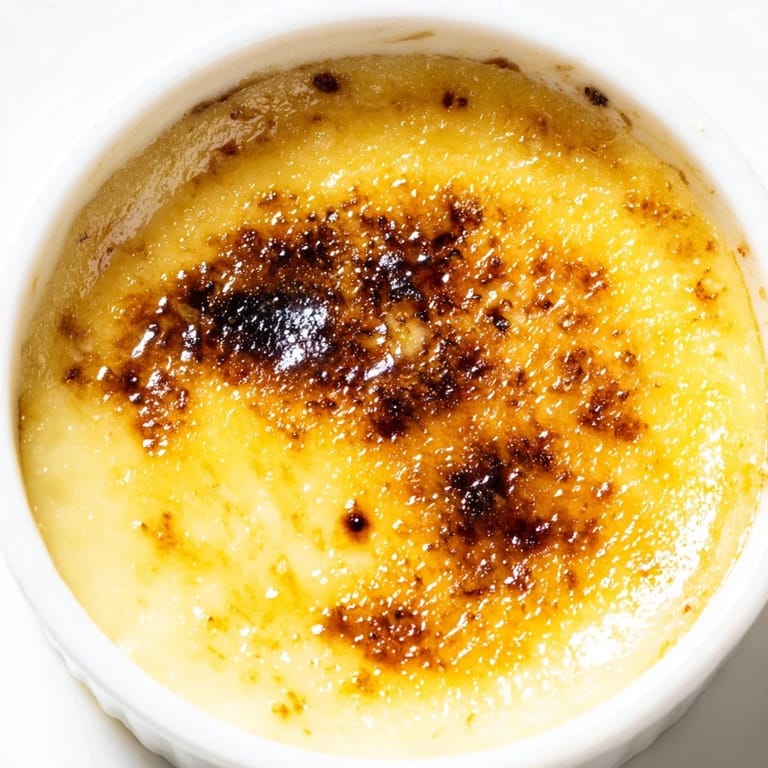
I served these at my mother's birthday dinner, skeptical about the vanilla free version in the original recipe. But the纯净 flavor of cream, eggs, and sugar convinced me sometimes simplicity isn't just elegant—it's perfect. My brother asked if I'd secretly ordered them from a restaurant.
Ingredients
- Heavy cream: The higher fat content creates that signature silky texture that feels luxurious
- Egg yolks: Room temperature yolks incorporate more smoothly into the warm cream
- Granulated sugar: Standard white sugar creates the crispest caramelized crust
Tired of Takeout? 🥡
Get 10 meals you can make faster than delivery arrives. Seriously.
One email. No spam. Unsubscribe anytime.
Instructions
- Heat the cream:
- Warm the cream in a saucepan until steam rises gently—avoid boiling or it will scald
- Whisk yolks and sugar:
- Beat until the mixture turns pale yellow and falls from the whisk in ribbons
- Combine carefully:
- Pour the warm cream into yolks slowly while whisking—this prevents scrambled eggs
- Strain for smoothness:
- Pour through a fine mesh sieve to catch any cooked bits of egg
- Water bath magic:
- Set ramekins in a deep pan and add hot water halfway up their sides
- Gentle baking:
- Bake until just set with a slight wobble in the center like soft pudding
- Patience pays off:
- Cool completely then chill for at least one hour to develop proper texture
- The caramel moment:
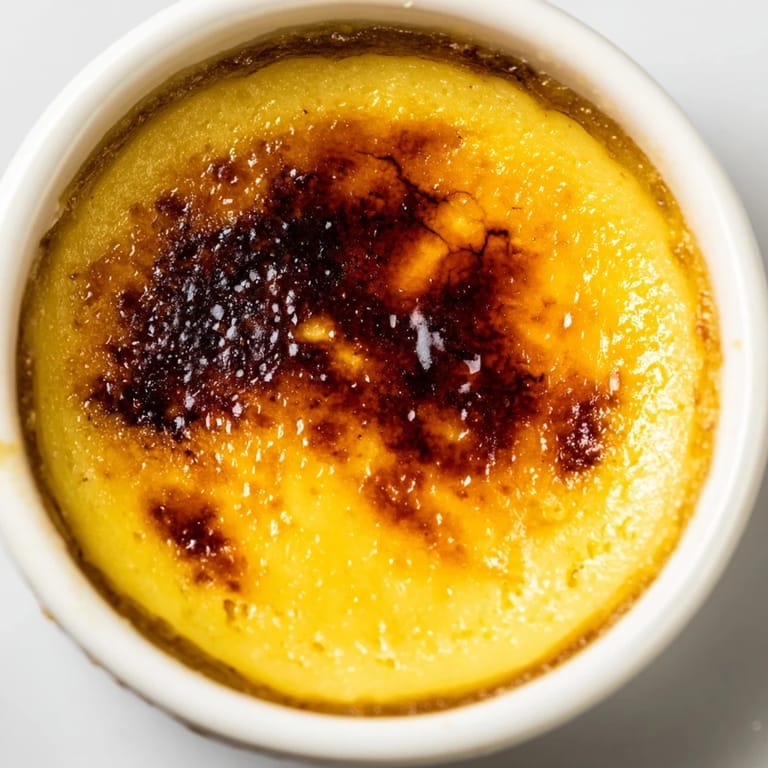
- Sprinkle sugar evenly and torch until deep amber for that signature crack
 Pin to Board
 This dessert transformed my holiday hosting forever. I make twelve the day before Christmas, line them up like little soldiers in the fridge, and feel secretly prepared for anything.
Getting That Perfect Crack
The sugar layer should be thin enough to caramelize quickly but thick enough to create substantial shards. I hold the torch about two inches away and move in circles until the sugar bubbles and darkens.
Make Ahead Freedom
The custards actually improve after a day in the fridge—the flavors meld and the texture becomes more refined. Just torch them right before serving for maximum drama.
Flavor Variations That Work
While the three ingredient version is stunning, infusions open up possibilities. I've steeped lavender, coffee, or earl grey in the cream before tempering.
- Add a vanilla bean to the cream while heating for classic flavor
- A tablespoon of bourbon in the warm cream adds adult sophistication
- Citrus zest creates a bright refreshing version for summer
 Pin to Board
 There's something profoundly satisfying about serving something so simple yet so impressive. The best recipes feel like magic but are actually just technique.
Common Questions
- → What are the main ingredients needed?
Heavy cream, egg yolks, and granulated sugar form the creamy custard and caramelized topping.
- → How is the caramelized sugar topping achieved?
A kitchen torch or broiler is used to melt and brown the sugar, creating a crisp, golden crust.
- → Why is a water bath used during baking?
The water bath gently cooks the custard, ensuring a smooth and creamy texture without curdling.
- → Can I infuse additional flavors?
Yes, vanilla bean or citrus zest can be added to the cream before blending for extra depth.
- → How long should the custard chill before caramelizing the sugar?
Chilling for at least one hour firms up the custard for optimal texture and topping adherence.
- → Is this suitable for certain dietary preferences?
This dish is vegetarian and gluten-free, containing dairy and eggs as allergens.