 Pin to Board
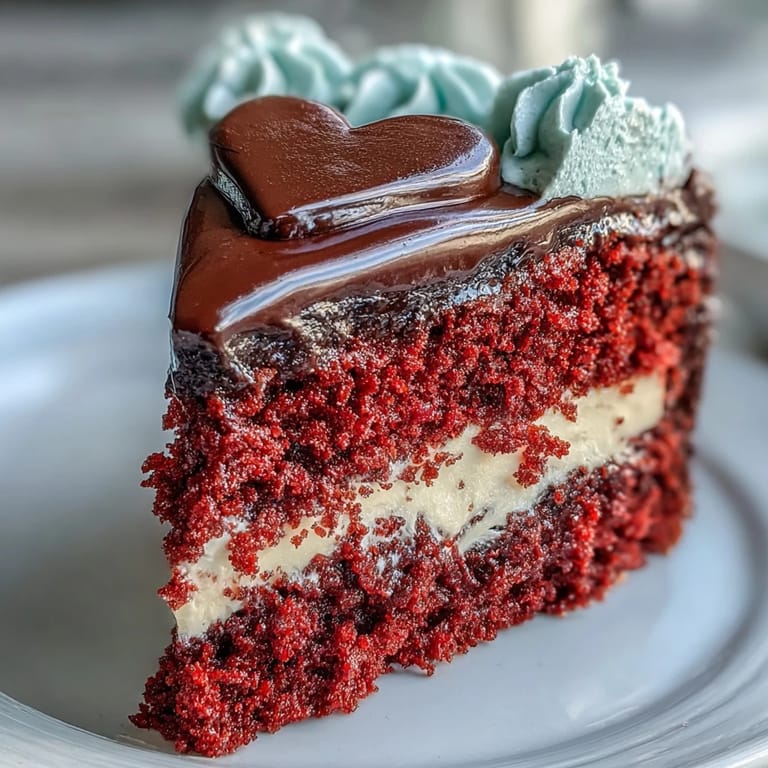
 The idea for this cake came to me during a late night Pinterest spiral, looking for something that felt both retro and whimsical for my best friends birthday. I had never worked with chocolate stencils before and honestly was terrified they would shatter or slide off at the worst moment. That first attempt had fingerprints all over the chocolate from my nervous hands, but she still posted about it on Instagram for weeks.
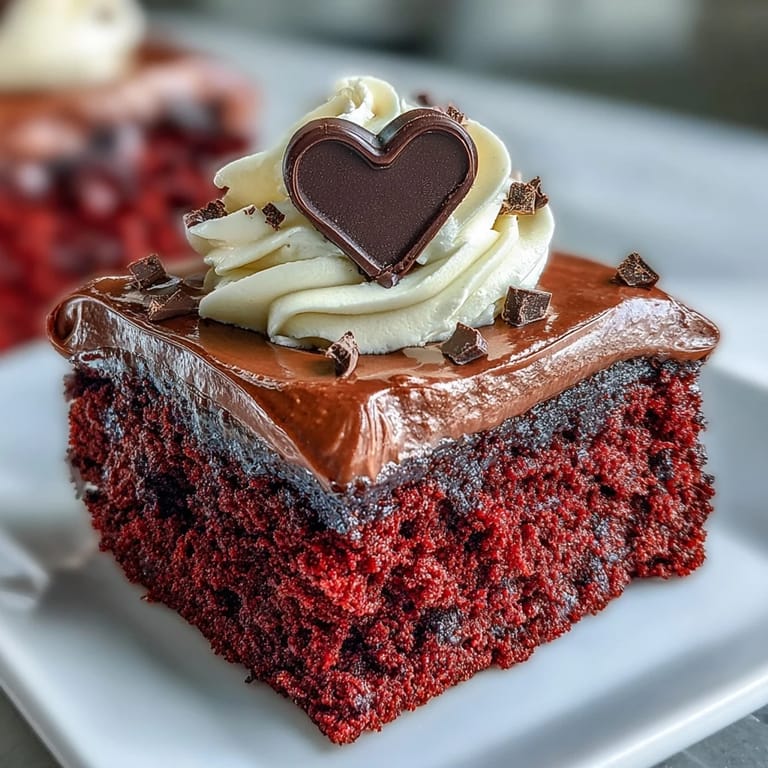
Last Valentine Day, I made this for a dinner party and watched six grown adults hush completely when I brought it out. The chocolate silhouette catches the light in such a dramatic way that people kept asking where I ordered it from, refusing to believe I made it in my tiny apartment kitchen with parchment paper and melted candy melts.
Ingredients
- Cake flour: Using proper cake flour instead of all purpose creates that tender fine crumb red velvet is famous for
- Natural cocoa powder: Just enough to give depth without turning the batter brown or overpowering the red color
- Room temperature ingredients: This is non negotiable for achieving proper emulsion and even rise
- Buttermilk: The acidity reacts with baking soda for extra lift and adds that characteristic tang
- Red gel food coloring: Gel gives you that vibrant red without adding liquid like traditional food coloring
- White vinegar: A small amount enhances the red color and activates the baking soda
- Cream cheese: Full fat brick style cheese creates the most stable luscious frosting
- Dark chocolate or candy melts: These create a crisp silhouette that pops against the red cake
Tired of Takeout? 🥡
Get 10 meals you can make faster than delivery arrives. Seriously.
One email. No spam. Unsubscribe anytime.
Instructions
- Prep your pans and oven:
- Preheat oven to 350°F and grease two 9 inch heart shaped pans with parchment rounds for easy release
- Whisk the dry ingredients:
- In a medium bowl combine cake flour cocoa powder baking powder baking soda and salt until well blended
- Cream the butter and sugar:
- Beat butter for 1 minute until creamy then gradually add sugar and continue beating for 2 to 3 minutes until light and fluffy
- Add the eggs:
- Add eggs one at a time beating briefly after each and scraping down the bowl to ensure everything incorporates evenly
- Add color and flavor:
- Mix in red gel coloring vanilla extract and white vinegar until the batter turns that shocking red shade
- Alternate wet and dry:
- Mix in one third of the dry ingredients followed by half the buttermilk repeating until everything is just combined and avoiding overmixing
- Activate the leavening:
- Stir together the remaining vinegar with baking soda then gently fold into the batter watching it foam slightly
- Bake the layers:
- Divide batter evenly between the pans smooth the tops and bake for 25 to 30 minutes until a toothpick comes out clean
- Cool completely:
- Let cakes rest in pans for 10 minutes then turn out onto wire racks removing parchment and cooling entirely
- Make the frosting:
- Beat cream cheese and butter until smooth then gradually add powdered sugar salt and vanilla until fluffy
- Assemble the cake:
- Level any domes then place one layer on a board frost the top add the second layer and chill for 15 minutes to set
- Apply the crumb coat:
- Spread a thin layer of frosting over the entire cake chill for 10 minutes then add the final smooth layer
- Create the silhouette:
- Place your stencil under parchment paper and trace the Betty Boop outline with melted dark chocolate letting it set completely
- Place the decoration:
- Carefully peel the chocolate silhouette from the parchment and press it gently onto the center of the frosted cake
- Final touches:
- Add any extra decorations around the edges then chill the whole cake for 30 minutes before slicing
 Pin to Board
 My niece helped me make the chocolate silhouette during our girls weekend baking marathon. Her hands were shaking so badly that the Betty Boop outline looked like she was winking but honestly that imperfection made it feel even more charming and homemade.
Getting That Perfect Red Color
Gel food coloring is absolutely worth the special trip to the craft store. I tried liquid coloring once and ended up with a weird pinkish brown cake that tasted slightly metallic. The gel concentrates the pigment so you get that dramatic crimson without thinning out your batter or affecting the flavor profile at all.
Working With Chocolate Silhouettes
The parchment paper trick is the only reason this decoration works for home bakers. I attempted freehand piping directly on wax paper once and the silhouette looked like a potato. Taping your printed stencil under parchment creates the perfect guide and the chocolate peels away cleanly when completely set.
Frosting Like A Pro
The hot spatula technique changed everything about my frosting game. Run your offset spatula under hot water dry it thoroughly then smooth the frosting in one continuous motion. The heat slightly melts the surface of the frosting creating that glassy professional finish you see in bakery windows.
- Chill your cake layers for at least 30 minutes before frosting to prevent sliding
- Reserve about a cup of frosting for touchups and final decorations
- Let the final set chill for at least an hour before attempting to slice
 Pin to Board
 Every time I make this cake I remember how some of the best desserts are the ones that make people smile before they even take a bite. That little red heart with Betty Boop winking back at you has become my go to for celebrations that need extra personality.
Common Questions
- → Can I use liquid food coloring instead of gel?
Gel-based food coloring is strongly recommended because it produces vibrant red color without adding excess liquid that can alter batter consistency and affect the cake's texture.
- → Why do I need to add vinegar to the batter?
Vinegar reacts with baking soda to create a light, tender crumb and enhances the red color. The small amount won't affect the flavor but improves texture significantly.
- → Can I make this cake in round pans instead of heart-shaped?
Yes, you can use two 9-inch round cake pans with the same baking time. The heart shape is decorative but not essential for the flavor or texture.
- → How do I prevent the chocolate silhouette from breaking?
Allow the melted chocolate to set completely until firm before peeling from parchment. Work in a cool room and handle gently. You can also make extras in case of breakage.
- → What can I use if I don't have buttermilk?
Make a substitute by adding 1 tablespoon white vinegar or lemon juice to 1 cup of whole milk. Let it sit for 5 minutes until slightly curdled before using.
- → How far in advance can I make this cake?
Bake the cake layers up to 2 days ahead, wrap tightly, and refrigerate. Frost and decorate up to 1 day before serving. Store covered in the refrigerator for best results.