 Pin to Board
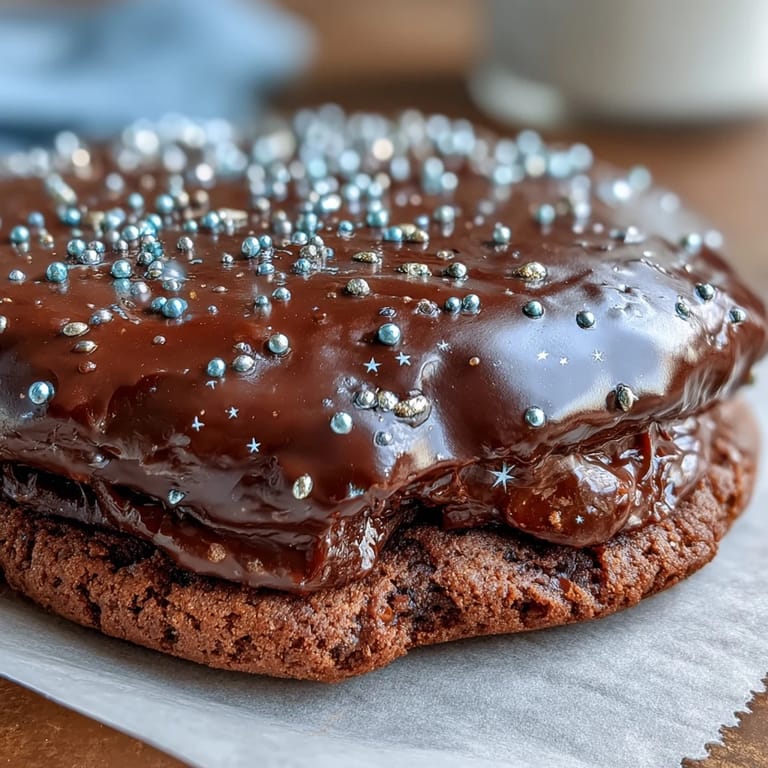
 My friend texted me a photo of her new astrology planner at midnight, gushing about finally understanding her Pisces sun sign. By morning, I was already mixing butter and sugar, determined to create something that captured that dreamy, celestial energy she'd described. These sugar cookies emerged from that impulse—delicate vanilla rounds transformed into tiny edible constellations, each one a small act of cosmic celebration that somehow felt more meaningful than a regular dessert.
I baked these for my book club's astrology night, and watching someone recognize their own birth chart on a cookie was unexpectedly touching. One woman kept hers on her nightstand for three days because she couldn't bring herself to eat something that felt so personal.
Ingredients
- All-purpose flour (2 1/4 cups): This is your foundation—it creates that tender, delicate crumb that makes these cookies so satisfying to bite through, and measuring by weight ensures you won't end up with tough dough.
- Unsalted butter (3/4 cup, softened): Softness matters here because you're creaming it with sugar until it's pale and fluffy, which traps air that makes cookies tender rather than dense.
- Granulated sugar (3/4 cup): This sweetness balances the vanilla without overpowering it, and the crystals help create those slightly crispy edges.
- Large egg: One egg binds everything together and adds just enough moisture to keep things cohesive without making the dough greasy.
- Pure vanilla extract (2 teaspoons for dough, 1/2 teaspoon for icing): Real vanilla is non-negotiable here because its warmth becomes the soul of the whole cookie.
- Baking powder (1/2 teaspoon): Just enough to give a gentle lift without making these taste cakey or rise too much.
- Salt (1/4 teaspoon): A pinch that makes everything taste more like itself, amplifying the vanilla notes.
- Powdered sugar (1 1/2 cups, sifted): Sifting removes lumps and creates smooth icing that pipes beautifully—don't skip this step because lumpy icing is impossible to work with.
- Milk (2-3 tablespoons): Add it slowly to control icing consistency; too thick and it won't spread, too thin and it'll slide right off.
- Blue or navy gel food coloring: Gel colors are more concentrated than liquid, so a tiny squeeze goes a long way and won't thin out your icing.
- Edible silver or gold star sprinkles: These catch light and make the cookies feel celebratory, plus they're easier to work with than trying to arrange individual stars.
- Edible silver pearls or gold dragees: These become your constellation points, so choose whatever color feels right for your vision.
- Edible glitter (optional): A whisper of shimmer applied while icing is wet makes everything feel a little more magical.
Tired of Takeout? 🥡
Get 10 meals you can make faster than delivery arrives. Seriously.
One email. No spam. Unsubscribe anytime.
Instructions
- Prepare your dry ingredients:
- Whisk flour, baking powder, and salt together in a bowl and set it aside—this prevents overmixing later and ensures everything is evenly distributed.
- Cream butter and sugar:
- Beat them together for about two minutes until the mixture looks pale, fluffy, and almost mousse-like; this is where the magic happens because you're incorporating air that makes cookies tender. Don't rush this step or your cookies will be dense.
- Add egg and vanilla:
- Mix these in until everything is combined and smooth, scraping down the bowl to catch any hidden butter.
- Bring it together:
- Add your dry mixture gradually to the wet mixture:
- Mix just until a soft dough forms—stop as soon as you don't see streaks of flour anymore, because overmixing develops gluten and makes cookies tough.
- Chill your dough:
- Divide the dough in half, flatten each half into a disk, wrap in plastic, and refrigerate for 30 minutes; this prevents the cookies from spreading too much while baking and makes them easier to cut.
- Preheat and prepare:
- Get your oven to 350°F and line your baking sheets with parchment paper while the dough chills.
- Roll and cut:
- On a lightly floured surface, roll dough to about 1/4 inch thickness and cut into circles, stars, or whatever shapes call to you. The thickness is important because thinner cookies get crispy edges and chewy centers.
- Bake with intention:
- Space cookies an inch apart and bake for 10 to 12 minutes until just the edges turn golden—they'll continue cooking slightly on the hot pan after you remove them. Let them cool completely on the baking sheet before moving them.
- Make your icing:
- Mix powdered sugar, two tablespoons of milk, and vanilla extract until smooth, then add milk one teaspoon at a time until you reach a consistency that spreads easily but holds its shape. This usually takes about 2 to 3 tablespoons total.
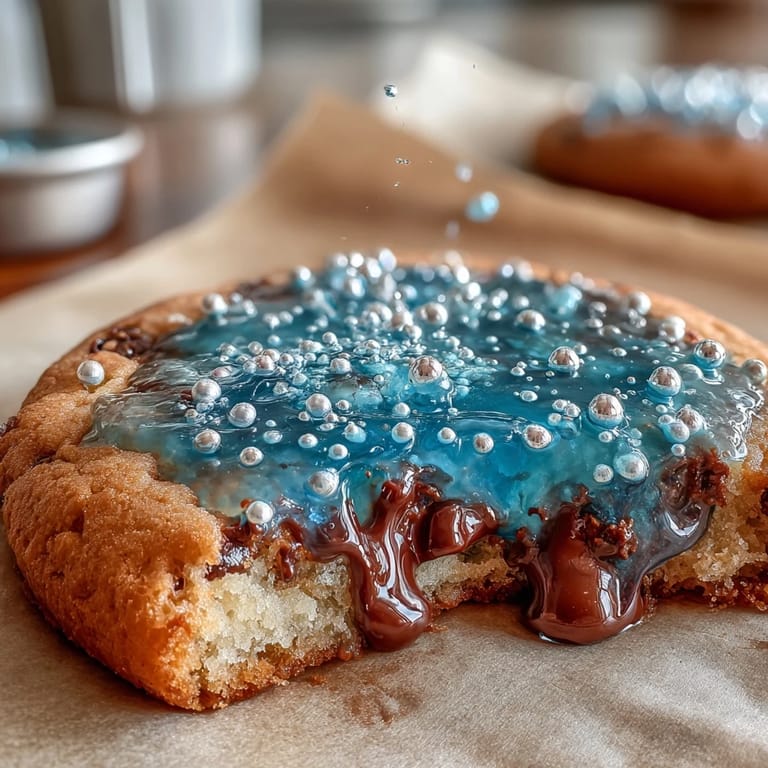
- Color your canvas:
- Add a tiny squeeze of blue or navy gel food coloring and stir until you have an even, dreamy shade.
- Ice with care:
- Spread or pipe the icing onto cooled cookies, covering most of the surface but leaving room for your constellation to shine through.
- Map your constellation:
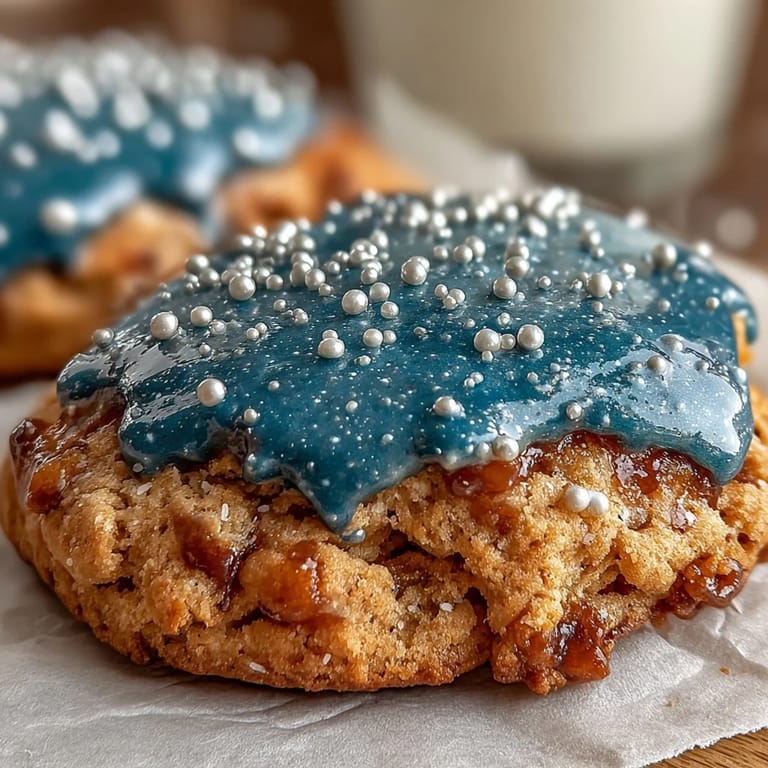
- While the icing is still wet, arrange your edible pearls or dragees to form the Pisces constellation by placing them where the stars connect. Have a reference image nearby so you can capture the actual shape.
- Add sparkle:
- Scatter your star-shaped sprinkles around the constellation, then sprinkle edible glitter if you want extra shimmer.
- Let it set:
- Leave cookies uncovered for a few hours so the icing hardens completely before stacking or storing them.
 Pin to Board
 The most beautiful moment came when someone at the party held their Pisces cookie up to the light and watched it glow like a tiny window into another world. That's when I understood these weren't just cookies anymore—they were small edible wishes, proof that paying attention to details like the arrangement of stars actually matters.
The Art of Constellation Mapping
Creating the Pisces constellation on a cookie might feel intimidating at first, but it's actually one of the most forgiving decorating projects you can undertake. The two fish connected by a cord is distinctive enough that even an imperfect placement reads clearly, and people will recognize it immediately. Keep a small printed or phone image of the constellation right next to you while you work, and place your edible pearls or dragees where the brightest stars appear—don't worry about mathematical precision because hand placement always feels more authentic anyway.
Storage and Keeping Your Cookies Fresh
These cookies have a respectable shelf life if you treat them right, staying crisp and delicious for up to five days in an airtight container at room temperature. The moment they emerge from the oven and cool completely is when they reach their textural peak—that balance between crispy exterior and tender center. After a few days they'll soften slightly, which some people prefer, but storing them in a single layer with parchment between each cookie prevents them from sticking together or getting crushed.
Variations and Personal Touches
Once you master the base recipe, the constellation possibilities multiply endlessly—make Sagittarius for your archer friend, create Gemini for twins you know, or even invent your own star pattern if you're feeling wild. The icing color can shift with your mood or the occasion: deep purple for mystery, soft pink for whimsy, gold for luxury, or white for elegant simplicity. You can also swap vanilla extract for almond extract if you want a subtle flavor shift, use cinnamon sugar to dust the raw dough before cutting for added warmth, or even add a whisper of lemon zest to brighten the overall taste.
- Try using edible markers to draw fine lines connecting your constellation points for extra detail and precision.
- Make a mixed constellation platter by decorating multiple cookies with different zodiac signs for a thoughtful gift.
- Press the pearls gently into wet icing so they stay secure through storage and traveling.
 Pin to Board
 These cookies prove that the most memorable desserts aren't always the most complicated—sometimes they're just an excuse to slow down, notice the stars, and share something handmade with the people who matter. Make these when you want to turn an ordinary moment into something celestial.
Common Questions
- → How do I form the Pisces constellation on the cookies?
After applying blue icing, place edible pearls or gold dragees on each cookie to mimic the Pisces star pattern, using a reference image for accuracy.
- → Can I use different food coloring for the icing?
Yes, while blue or navy gel colors highlight the Pisces theme, you can use any food-safe gel coloring to suit your preferences.
- → What is the best way to achieve soft sugar cookies?
Chilling the dough for 30 minutes before baking and not overbaking ensures tender, soft sugar cookies with a delicate crumb.
- → How long should the icing set before storing?
Allow the icing to fully harden at room temperature, which typically takes at least one hour, to prevent smudging when stored.
- → Can I prepare cookies ahead of time?
Yes, cookies can be baked and iced ahead. Store them in an airtight container for up to 5 days to keep freshness.
- → Are these cookies suitable for gluten-free diets?
For gluten-free options, substitute all-purpose flour with a 1:1 gluten-free flour blend while following the same steps.